Best Alpine Climbs for Cyclists: Legendary Tour de France Roads and Hidden Gems in the French Alps
Every July, the world's attention turns to the Alps. As the Tour de France reaches the mountains, mi
Read MorePosted 08-10-2025 by Sally
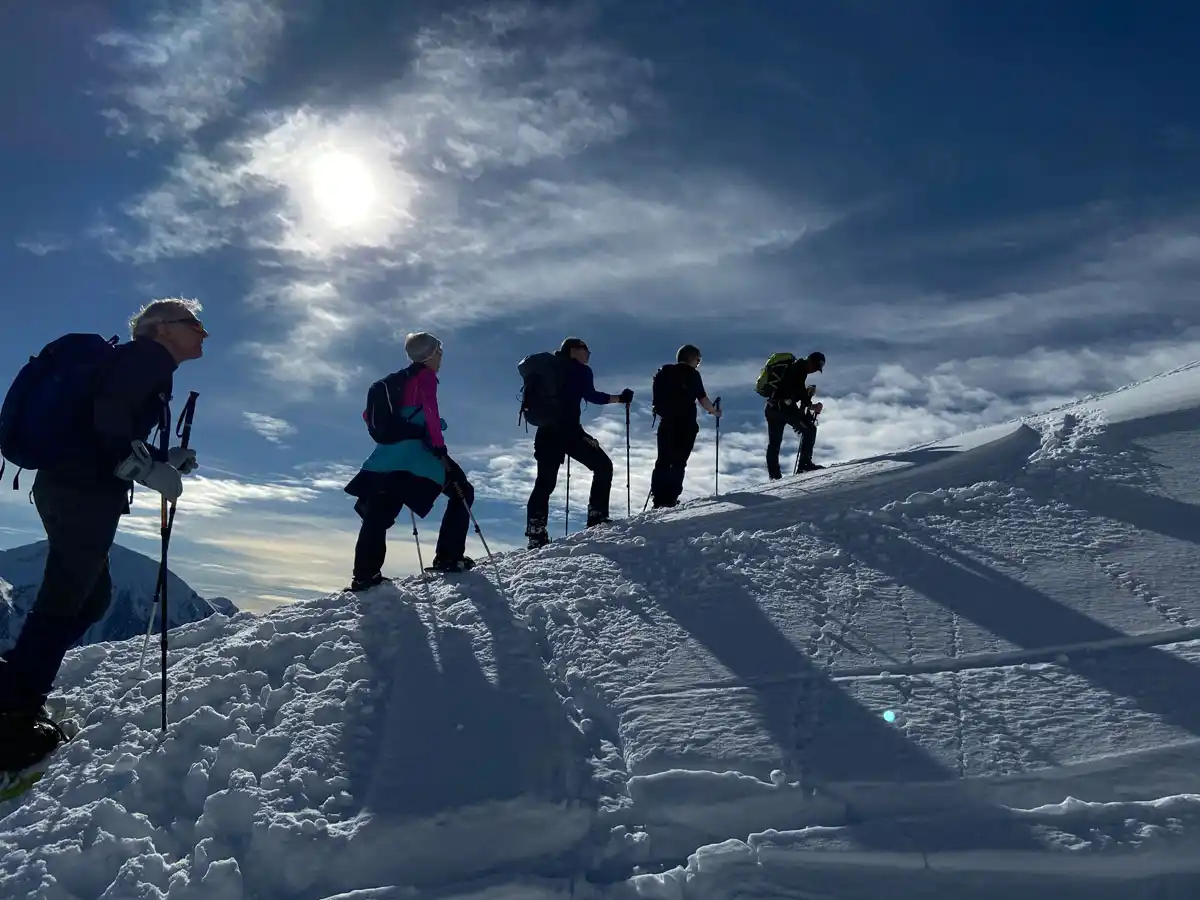
There’s something special about moving quietly through the Alps on snowshoes: the gentle crunch of snow, the wild stillness, and the promise of a warm refuge waiting at day’s end. A hut-to-hut snowshoeing holiday is the ultimate antidote to the ski-resort rush: slower, simpler, and far more rewarding.
Each evening, you’re welcomed into a mountain refuge where a guardian cooks hearty meals and conversation replaces scrolling. You travel light, breathe deeply, and remember what winter was meant to feel like.
But let’s be honest, packing for a multi-day snowshoeing trip can feel like a mystery wrapped in a down jacket. For some, organising gear is part of the thrill; for others, it’s a straight path to pre-trip panic (and a perfect excuse not to go at all!).
To save you from that fate, we’ve gathered everything you need to know in one place - a simple, down-to-earth guide that works whether you’re a seasoned snowshoer or a first-timer still figuring out which end of the pole goes up.
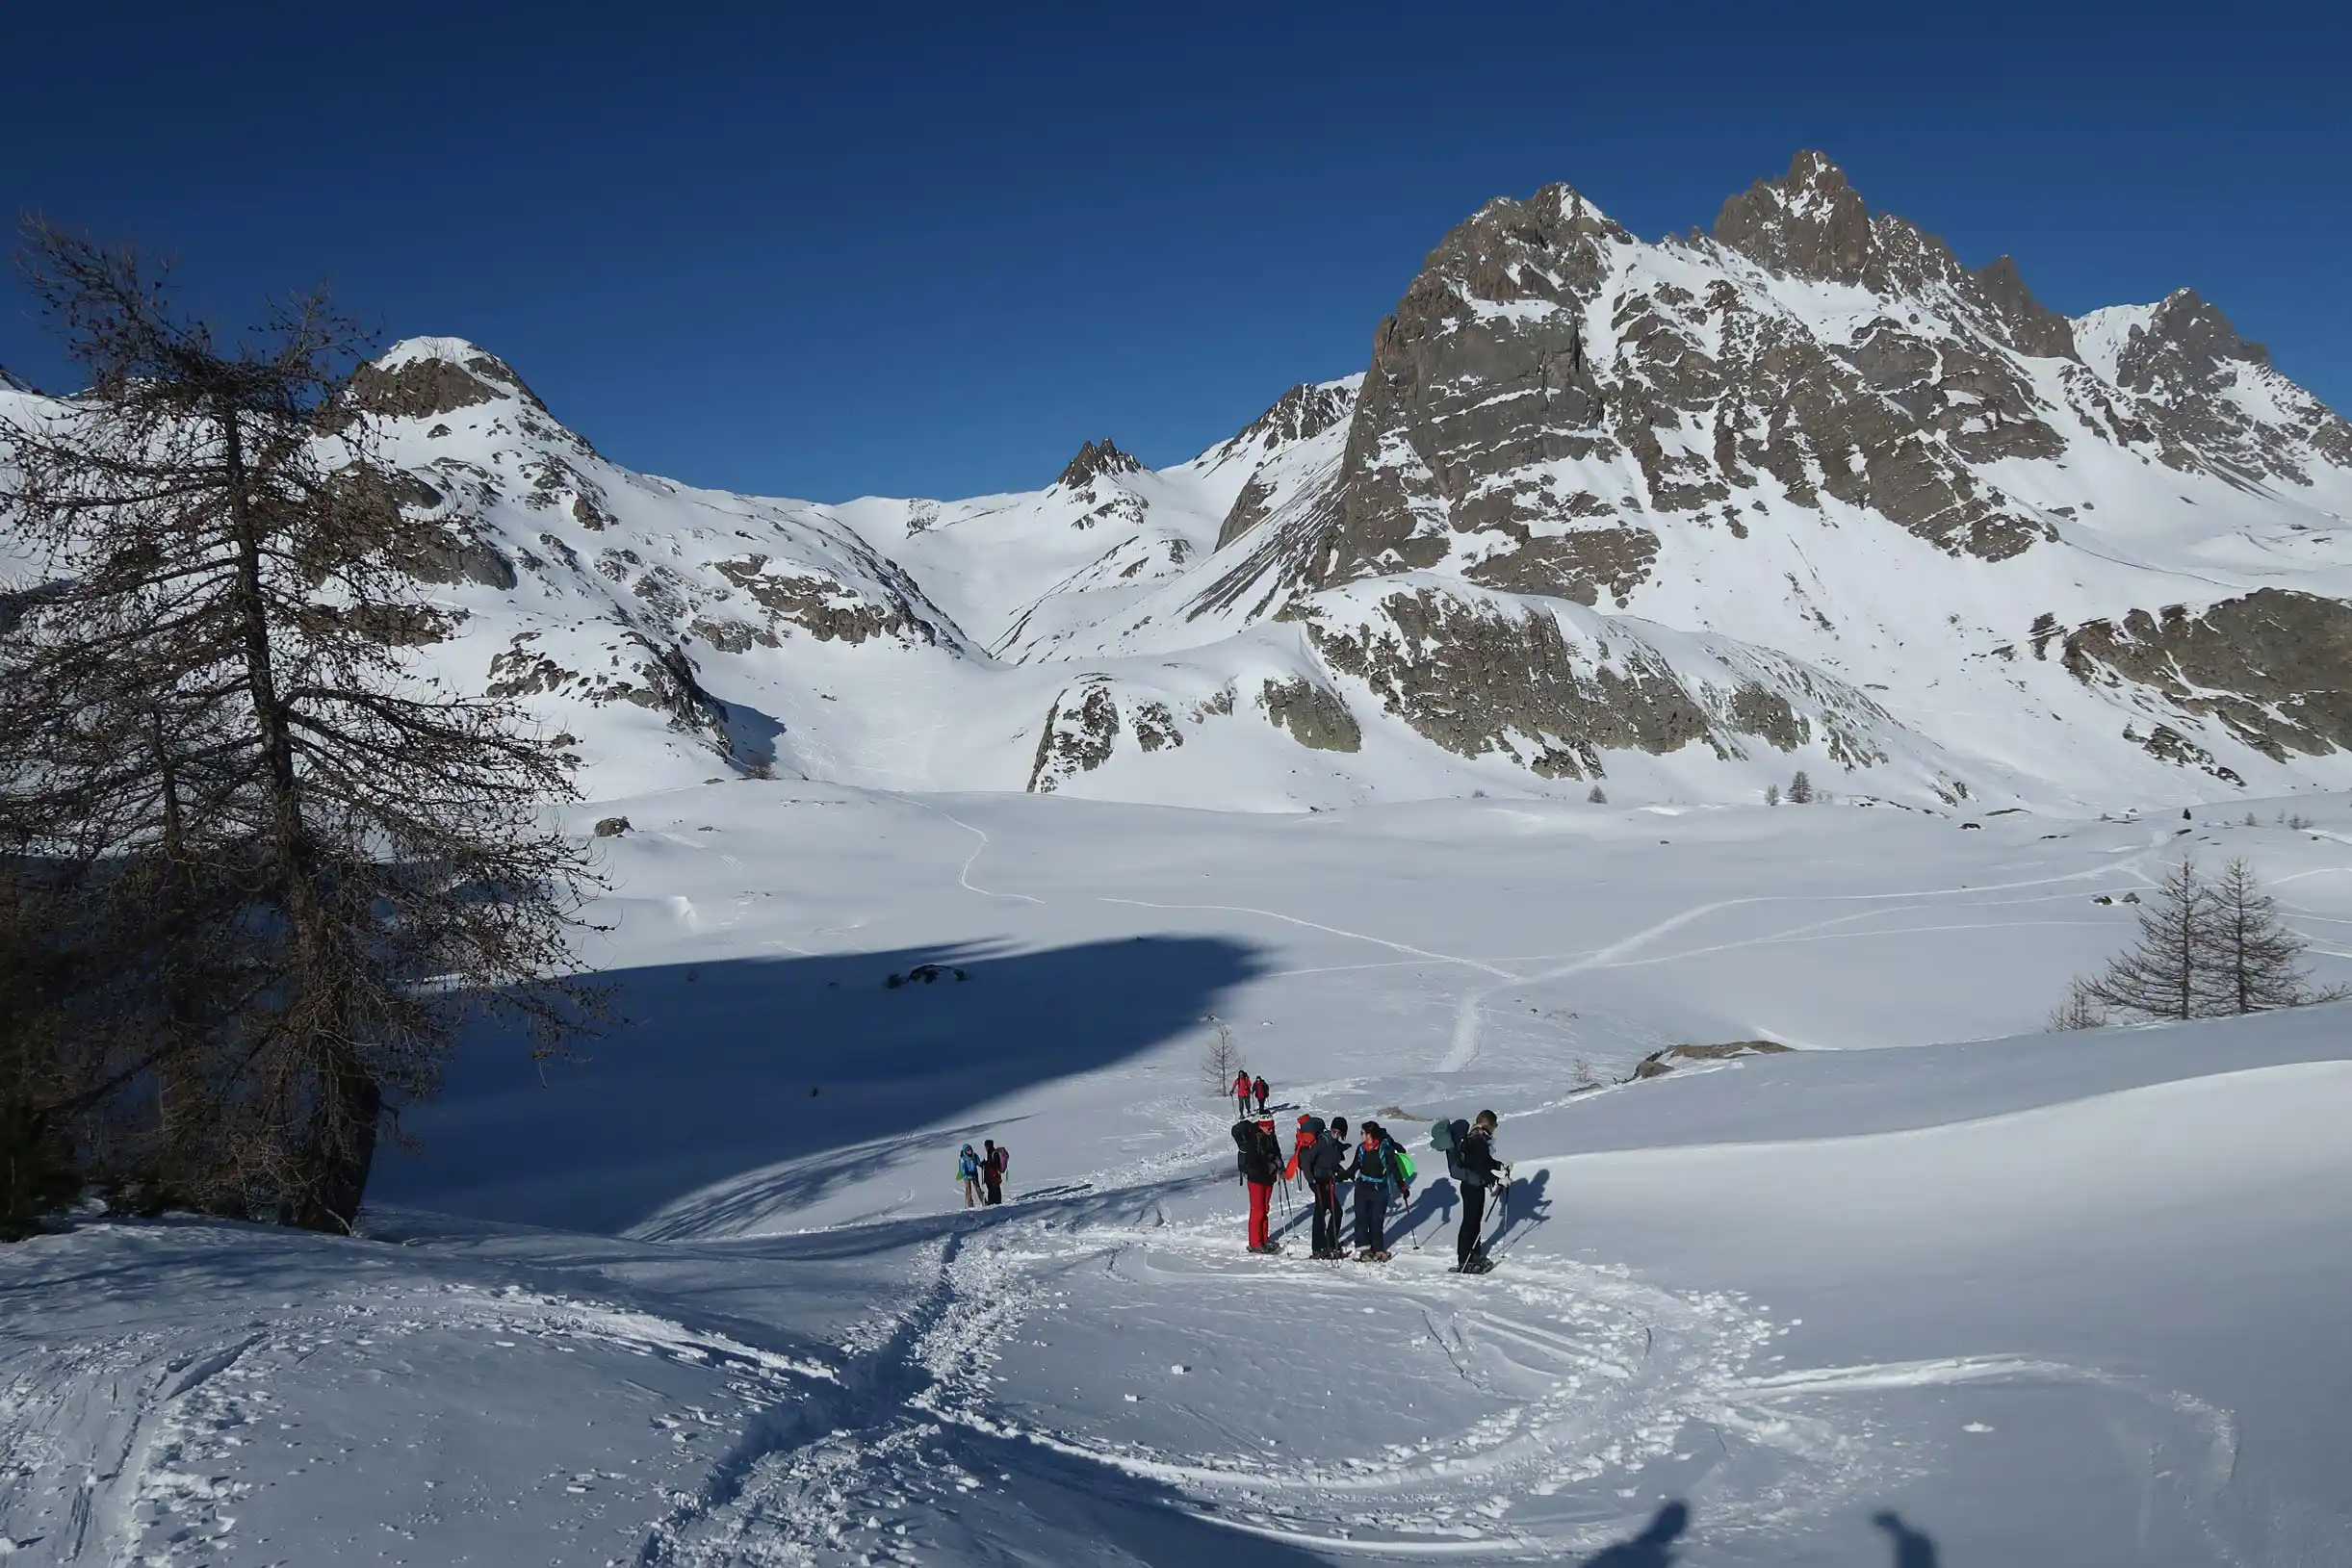
A day snowshoeing trip is a lovely way to taste winter in the Alps: a few hours in the snow before returning to comfort. But a hut-to-hut snowshoeing adventure takes you far beyond the resorts and into the wild, to another level.
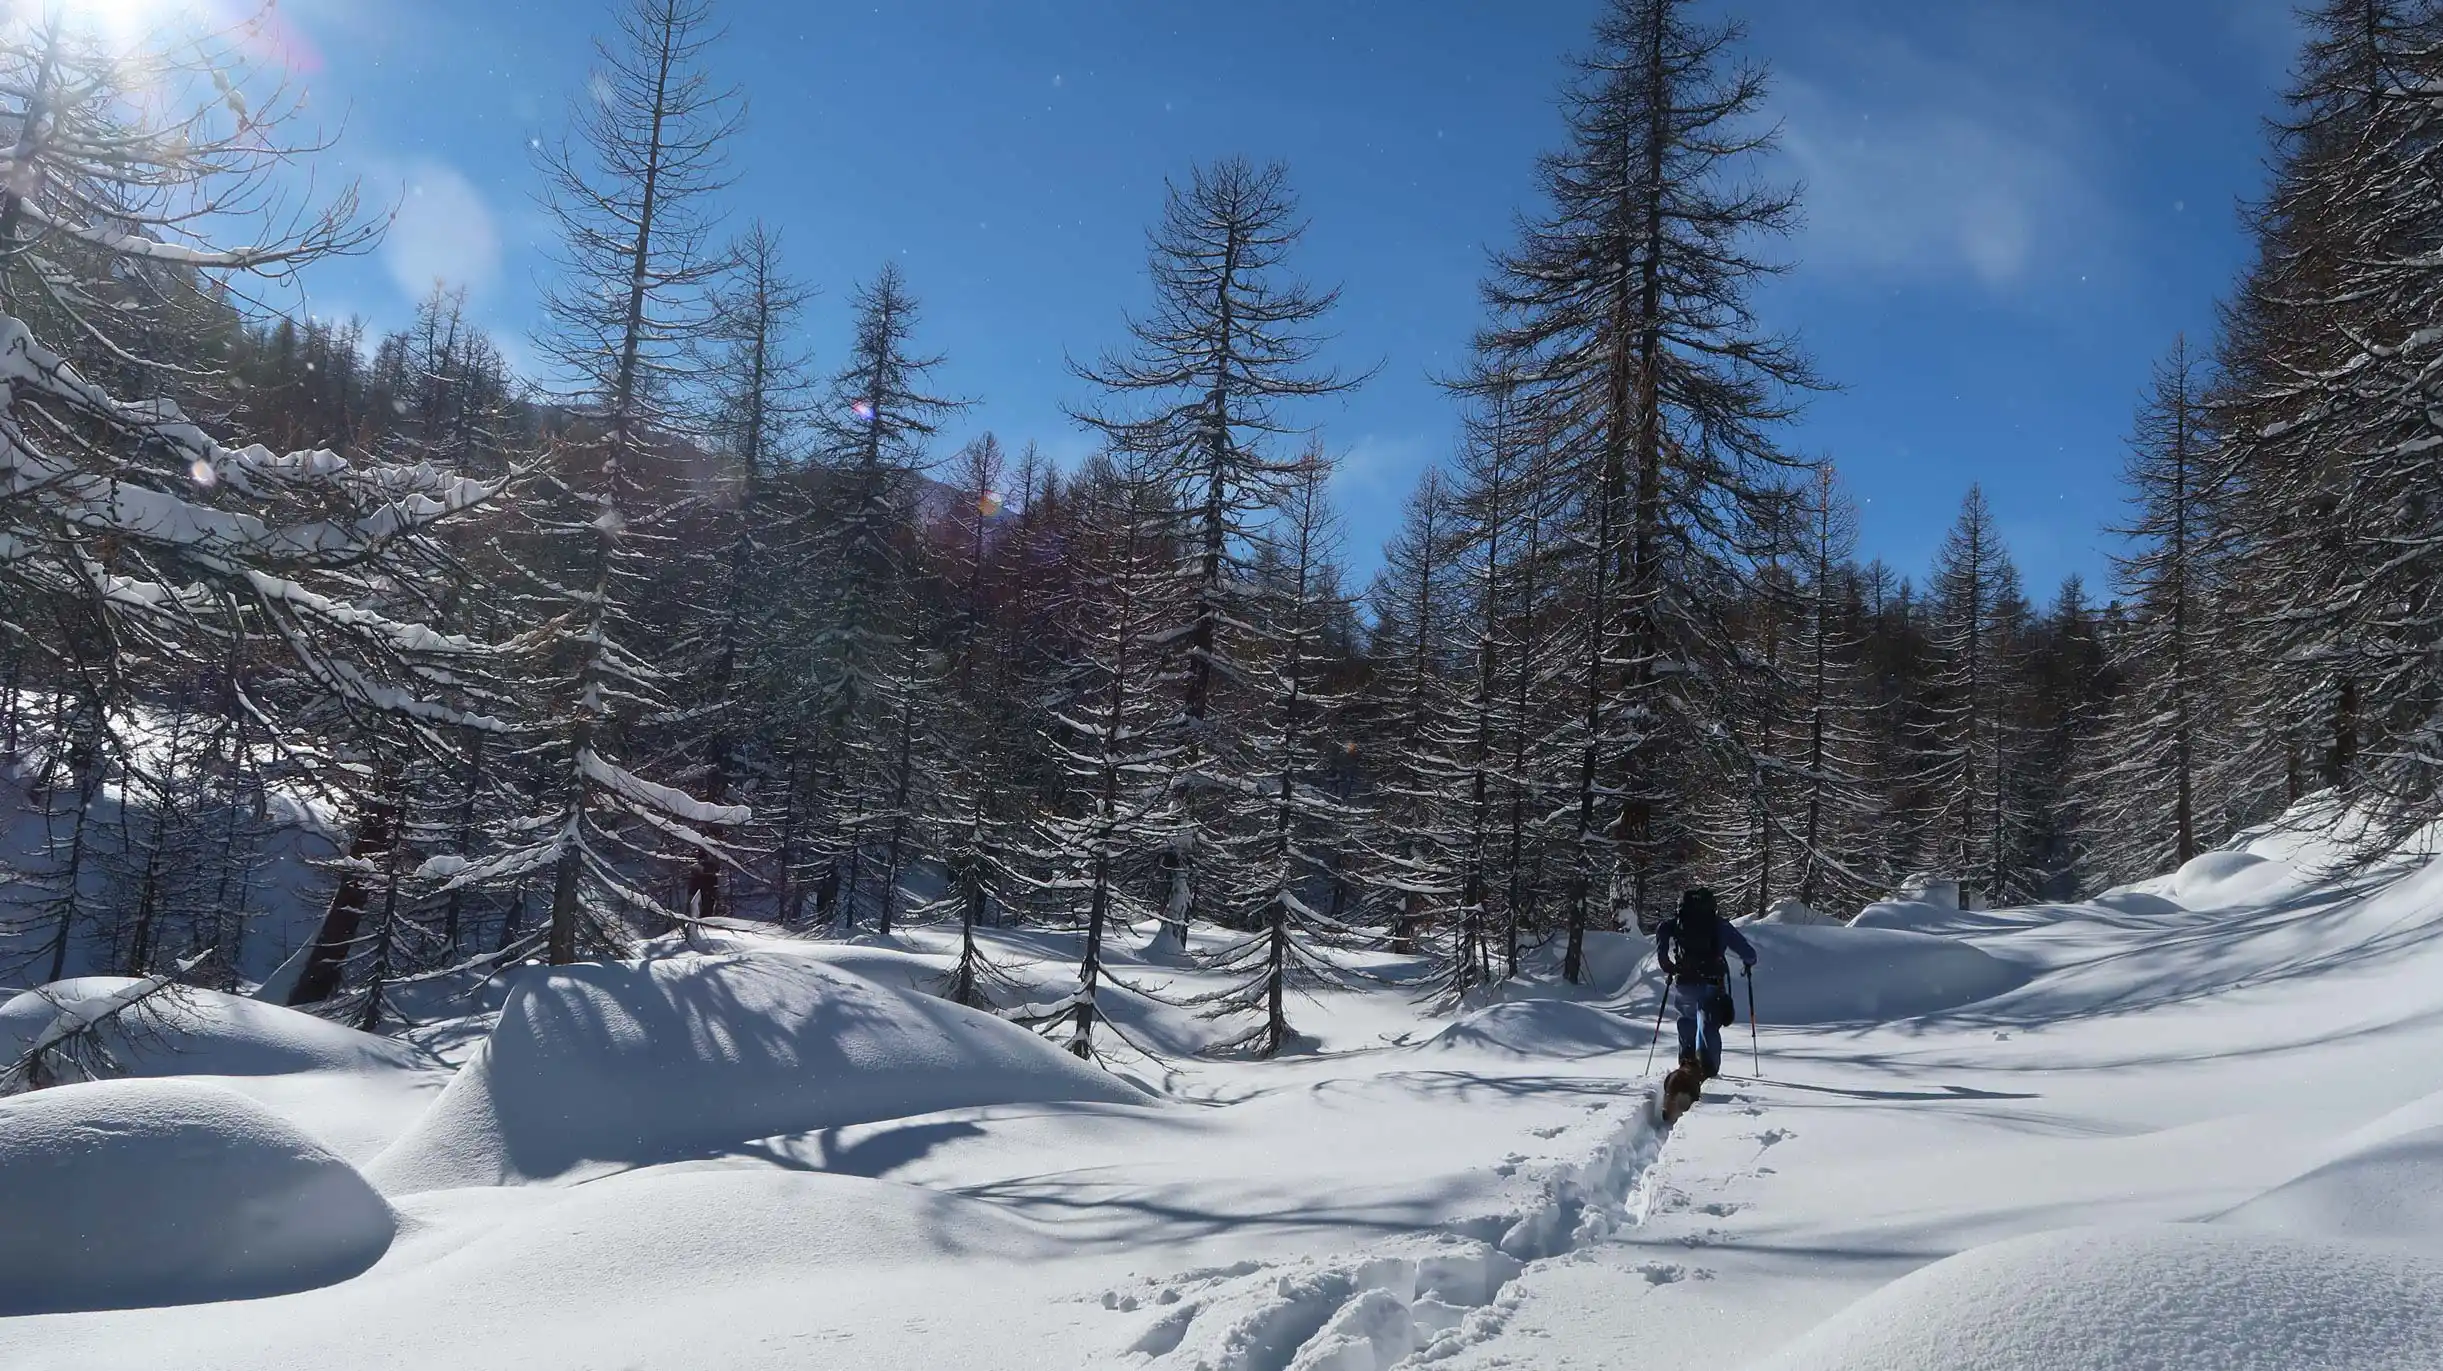
Once you leave the ski lifts behind, the crowds disappear and the mountains feel vast and untouched. You follow quiet trails through forests and open valleys, travelling deeper each day into real wilderness, experiencing the rare peace that comes from being completely present in nature.
With little or no mobile signal, you quickly settle into mountain rhythm: walking, eating, resting, sleeping. Life becomes beautifully simple: carrying only what you need, eating hearty local food, and supporting the refuges that keep these remote communities alive through winter.
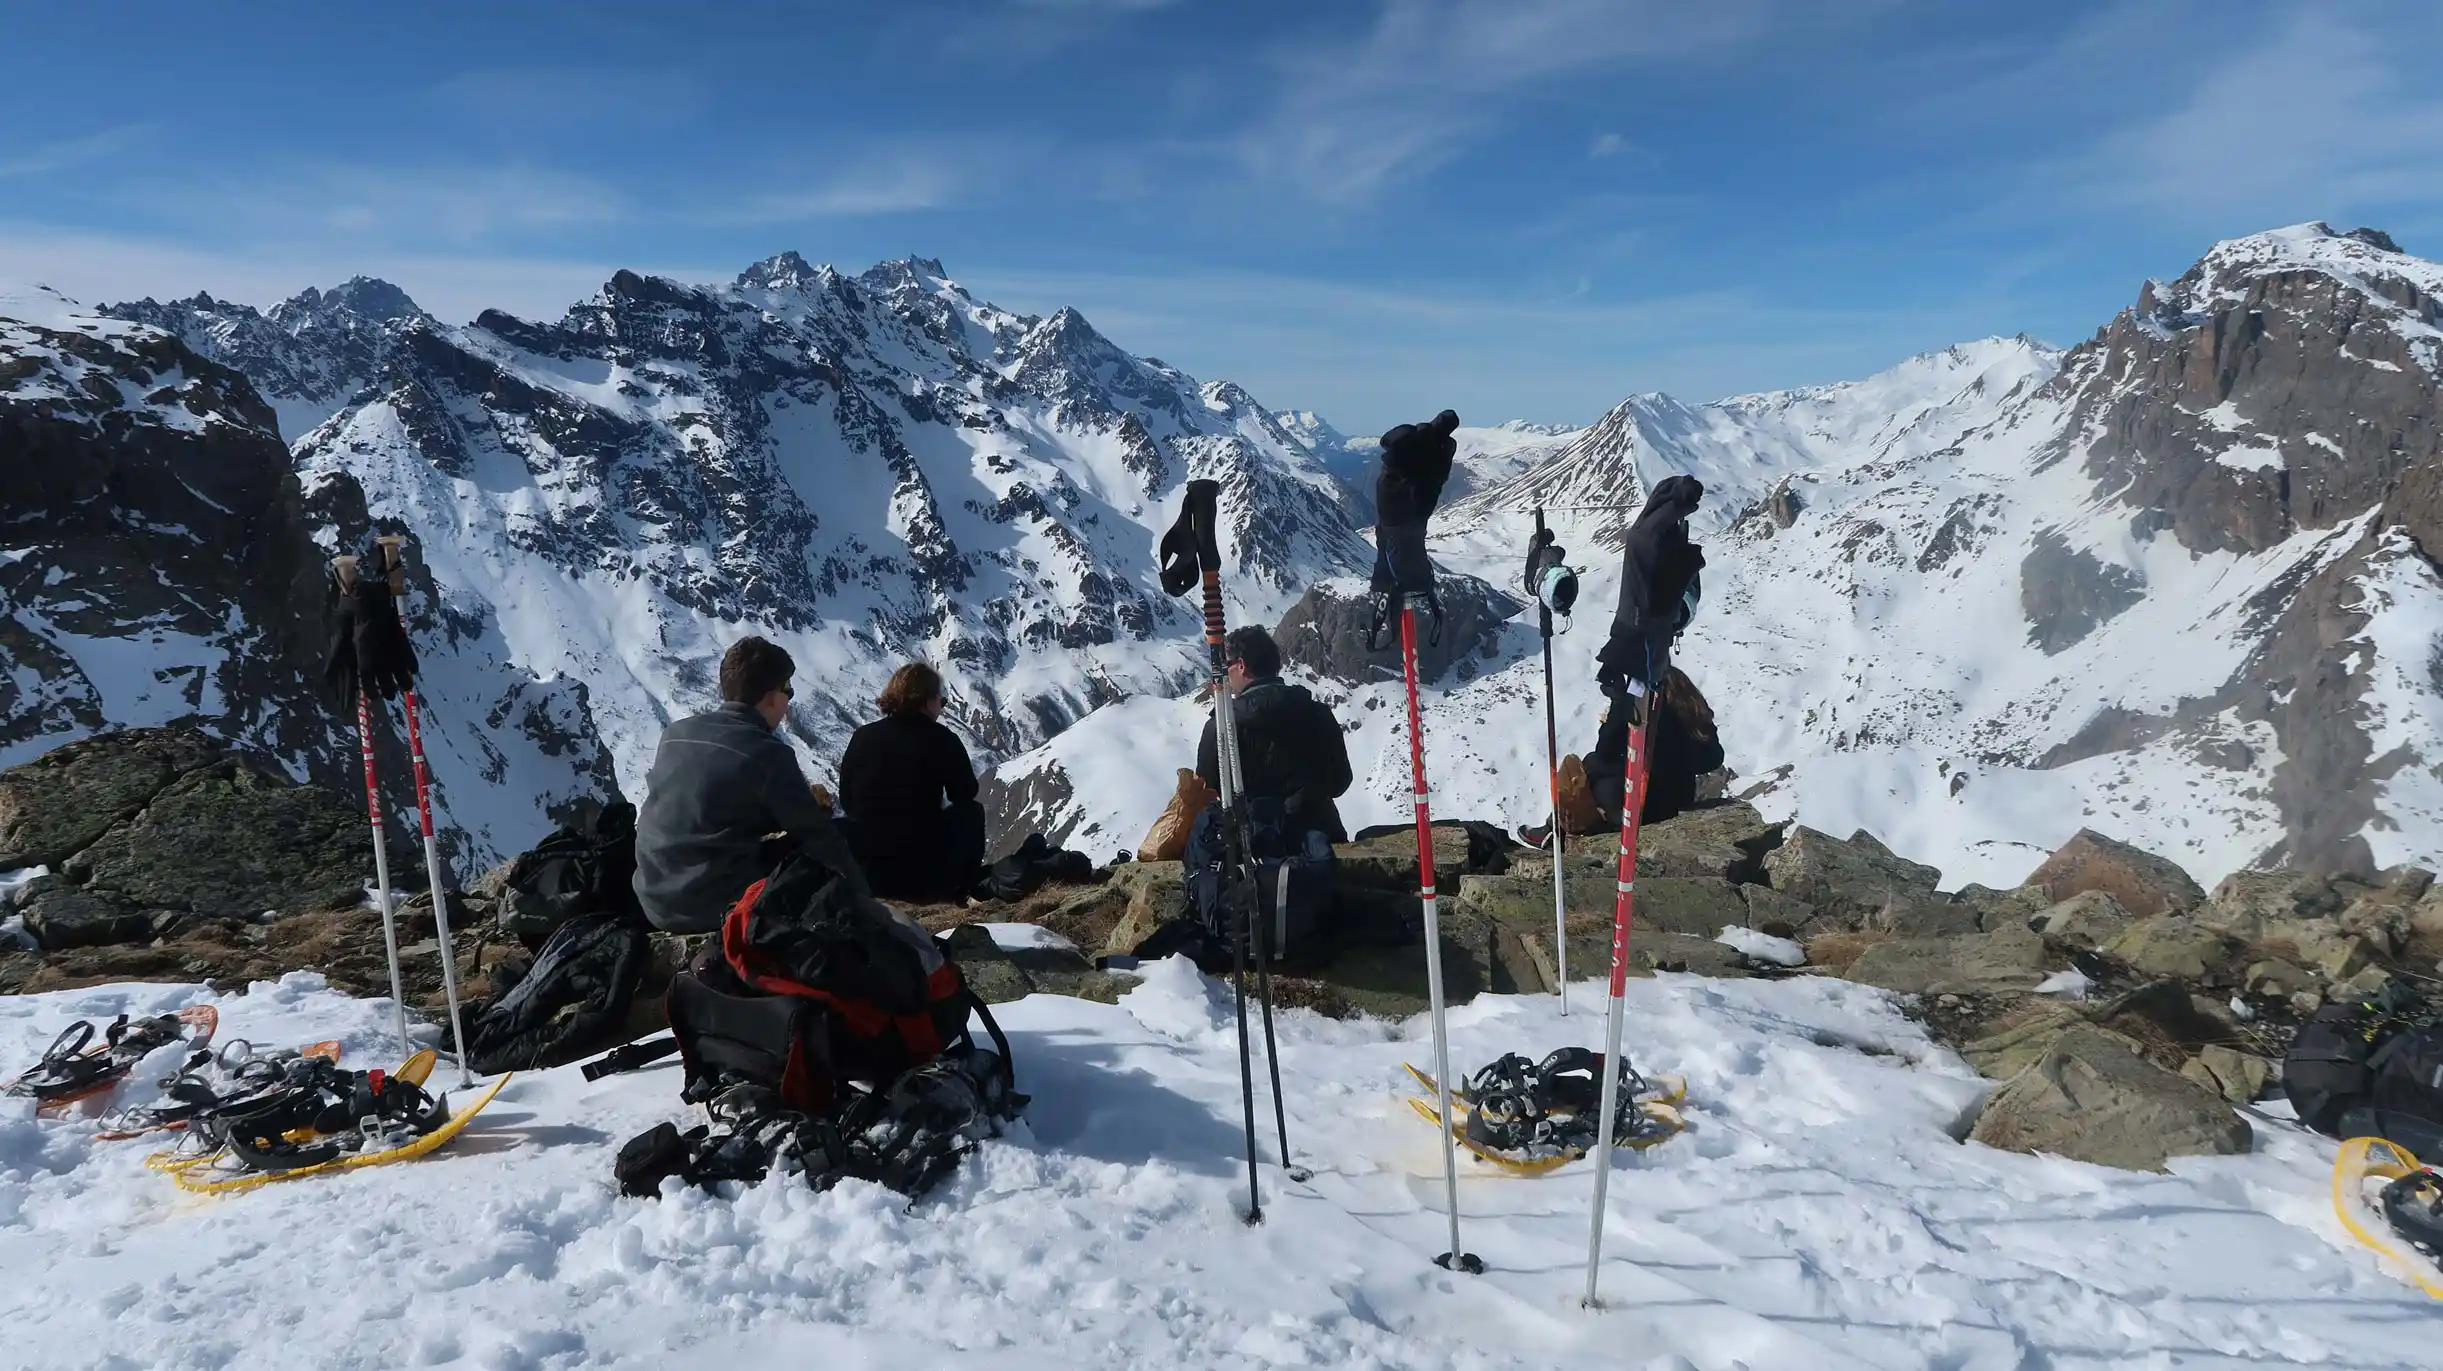
Every evening brings the warmth of shared meals, laughter with other travellers, and a deep sense of contentment earned by your day’s effort.
You don’t need to be a professional athlete to enjoy a hut-to-hut snowshoeing trip, but it’s worth knowing that snowshoeing can be more demanding than walking on dry ground. The type of snow makes a huge difference: gliding easily over firm, packed snow feels light and effortless, while wading (even on snowshoes) through soft powder is a full-body workout.
On a hut-to-hut route, you also have a destination to reach - the next refuge - so it’s important to be ready for steady effort over several hours each day. At Undiscovered Mountains, we design our itineraries so that regular hill walkers who are comfortable hiking at weekends can manage the routes easily: typically around 5 km with 450 m of ascent per day. When conditions allow, there are optional extra loops for those who want to stretch their legs a little further.
To prepare, build endurance before your trip with activities like brisk walks, hikes with poles, swimming, or climbing stairs. The better your baseline fitness, the more you’ll enjoy the journey - and the views that come with it.
Packing for a multi-day winter journey means balancing comfort and minimalism. Everything should earn its place in your rucksack.
The other key is comfortable, well-fitted boots that are already broken in and to learn to layer your clothing so you can adjust quickly to changing conditions: the mornings can be crisp and cold, but you’ll soon warm up as you climb, and, in turn, that warmth disappears quickly when you stop.
- Base layers: go for moisture-wicking merino (best for not getting smelly) or a good synthetic top. Bring one thermal for every two days - swap into the dry one each evening and leave it on the next morning. You’ll thank yourself when it’s still warm and toasty from the night before and you haven't got to strip down to your skin in a cold mixed dormitory!
- Mid layers: fleeces and lightweight down jackets are your friends. Plan your system for the coldest conditions you expect, and make sure everything fits comfortably on top of each other and under your waterproof shell. For example: a thin thermal, a thicker thermal, a fleece, and then your down jacket. Try the full combination on before your trip - there’s nothing worse than realising your top layer won’t zip up halfway up a snowy pass.
- For legs: thermal leggings work perfectly with warm winter hiking trousers for very cold conditions and for average cold you can just wear your trousers, keeping your leggings for the night. For walking trousers, if you can find stretchy material with a soft fleece lining and water-resistant outer, these are ideal. Full waterproof trousers are only really needed if it’s raining or sleeting (and they tend to sound like crisp packets when you walk). If you want the reassurance of total waterproofing, bring a very lightweight shell layer you can slip on quickly in bad weather.
- Outer layer: a waterproof, windproof shell jacket is essential. Leave the ski jacket at home - it’s too thick, too heavy, and doesn’t play nicely with layering.
- A warm hat is essential, but here’s a tip: if you like to pull your hood up when it’s really cold, choose a hat without a bobble. They look cute, but they’re a nuisance under a hood.
- For your hands, fleece gloves with grips on the palms are perfect for holding poles without slipping, and a pair of warm mitts are worth bringing for extra-cold days or long descents when your hands can really feel the chill.
- A snood or buff (or even two — they’re light!) is one of the most useful bits of kit you can carry. They double as an extra layer under your hat, and they’re brilliant for regulating temperature. Feeling hot? Take off your snood and you’ll cool down in seconds.
- Finally, don’t skimp on eye protection: bring good category 4 sunglasses for bright days and a pair of ski goggles with yellow or rose-tinted lens for white-out or windy conditions.
- Underwear and socks: warm hiking socks (one pair to wear and one spare for each day). If you’re tight on weight, you can wear them every other day. Turning them inside out is a time-honoured trick (we won’t judge). The same logic applies to underwear… though maybe don’t boast about it at dinner in the refuge.
- Snowshoes and poles – provided on guided trips.
- Sturdy waterproof hiking boots with good grip and ankle support. These need to be quality winter boots, ideally quite stiff. Soft boots will slip in the snowshoes and the snowshoe straps can rub if the ankle section is too thin or soft.
- Gaiters to keep snow out of your boots.These are essential! Check they work with your trousers.
- Rucksack (35 L) that is big enough to carry your extra layers, a picnic and water. A 35l sack should be plenty big enough for a few days in the mountains. If you need more space you are probably taking too much. You need to make sure you have straps on the side so you can fix on your snowshoes rather than carrying them over snow free sections.
- Reusable water bottle or hydration system. Beware that the tubes on these can freeze in cold weather so get an insulated tube. Make sure you can organise your sack so you can easily access your water. For picnics, these are now often provided in paper packaging so it is best to bring a re-usable waterproof bag for these and your snacks. A hard launch box is not always practical for packing in your rucksack.
A sit-mat - cut up an old camping mat to make a small 30cm by 30cm sit mat. This weighs nothing and the added comfort of sitting on an insulated soft sit mat in cold, wet snow cannot be underestimated!
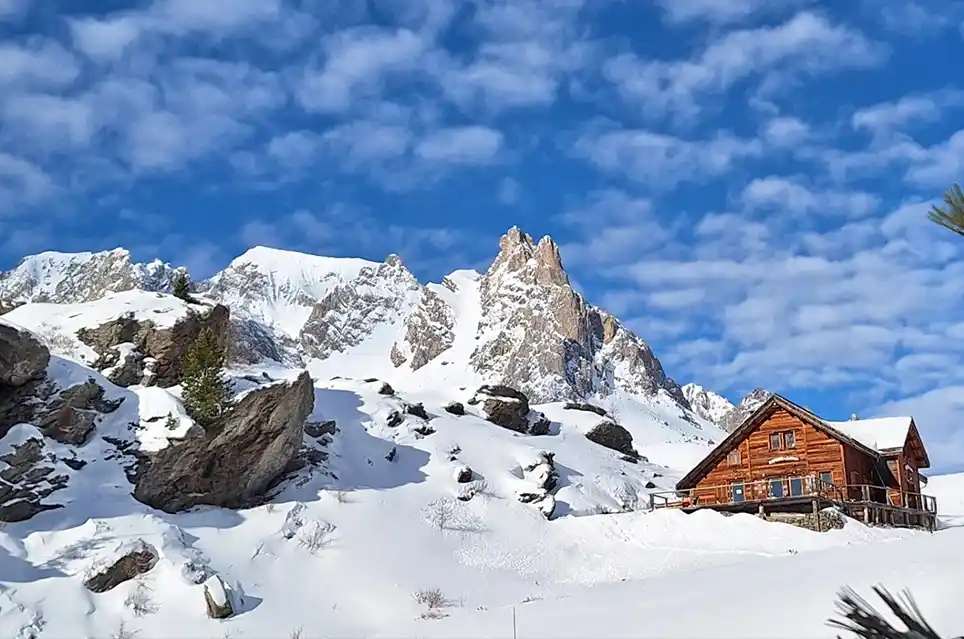
Refuges are cosy and welcoming but simple. Pack with practicality in mind:
- Sleeping liner (sac à viande) – compulsory in most huts.
- Earplugs and head torch with a red light option so you don't wake up the whole dorm when you go for a pee in the night, for dormitory sleeping.
- Toiletries: just a toothbrush and small tube of toothpaste; mini sachets of soap or shower gel if you know a refuge has showers. Many don’t - a microfibre towel is perfect for quick freshen-ups.
- Evening wear: use your clean base layer for the next day; no need for a separate outfit.
- Cash for hut extras, ID card, and insurance details.
- Avalanche transceiver, shovel and probe - for some hut to hut trips, where you are entering into high mountain territory, you will need to take an avalanche safety pack which includes a shovel (this breaks down into a handle and spade to fit into a rucksack) and probe (like a telescopic tent pole) to go in your rucksack and an avalanche transceiver that you wear on your body. We provide these on our hut to hut snowshoeing trips and the guide will show you how to use them. They are a safety precaution and, like wearing a seat belt in a car, can save your life in the unlikely event you were caught in an avalanche. Our priority is of course to avoid avalanche risk where possible.
- Mini first-aid kit, blister plasters, and any medication.
- Sunscreen and lip balm - UV can be fierce even on cold days.
- Power bank and charging cable. Some refuges have solar powered charging stations.
- Organise gear into dry bags by category — thermals, socks, accessories, wash kit. It keeps your rucksack tidy and makes repacking quick each morning.
Travelling light is kinder to both you and the planet.
- Use refillable bottles and reusable containers and bags.
- Avoid single-use plastics in toiletries or snacks.
- Pack a multi-purpose natural soap that works for washing hands, body, and clothes.
It’s easy to overpack “just in case”. Here’s what you can safely leave at home:
- Mountaineering gear such as full crampons or ice axe - unnecessary for snowshoeing. Some people carry lightweight boot micro-crampons if conditions are icy, but snowshoes already have crampons built in.
- Sleeping bag – not needed; refuges provide duvets and blankets.
- Multiple outfits – plan one complete cold-weather layering system. Bring a spare thermal top, spare socks and underwear for each day, and nothing more.
- A small thermos is pleasant for tea breaks but adds weight - refuges will always have hot drinks waiting at the end of the day. OR double your thermos as your water bottle.
- Check the latest weather forecast and adapt your kit accordingly.
- Pack everything in waterproof stuff sacks or dry bags.
- Keep essentials and items you may put on and off regularly like gloves and hat accessible.
- Test all your gear before leaving - new boots or rucksacks can quickly spoil a trip if they don’t fit properly.
If this sounds like your kind of winter adventure, join our Guided Hut-to-Hut Snowshoeing Holiday in the French Alps.
It’s a sustainable, small-group journey through untouched Alpine landscapes - combining wild beauty, warm refuges, delicious food, and the confidence of travelling with expert local guides.
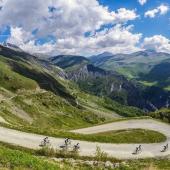
Every July, the world's attention turns to the Alps. As the Tour de France reaches the mountains, mi
Read More
If you're planning a walking holiday, one of the first decisions you'll need to make is whether to c
Read More
Via ferrata often looks more intimidating than it actually is. From the outside, it can be difficult
Read More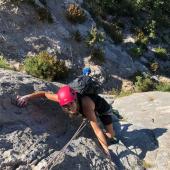
For many climbers, the first time standing at the base of an outdoor cliff is a moment of hesitation
Read More
0 comments
Submit a comment